
(858) 224-9100
(858) 224-9100
Hello, lab enthusiasts! Today, we're embarking on a journey that will take us from the realm of uncertainty to the land of proficiency. We're diving into the world of Polymerase Chain Reaction (PCR), and by the end of this post, you'll be a certified PCR Blank Check expert. So, put on your lab coats, grab your pipettes, and let's get started!
First things first, we're not performing magic here, folks. We're understanding the need for a PCR Blank Check. The secret is to understand that it's all about ensuring the accuracy of your PCR results. It's like the gateway to the world of PCR Blank Check.
Why it matters: This step is crucial because it sets the stage for your entire PCR Blank Check process. If you skip this step, you'll be left with a lack of understanding, blocking your path to accurate PCR results. It's like trying to start a car without a key - a surefire recipe for frustration!
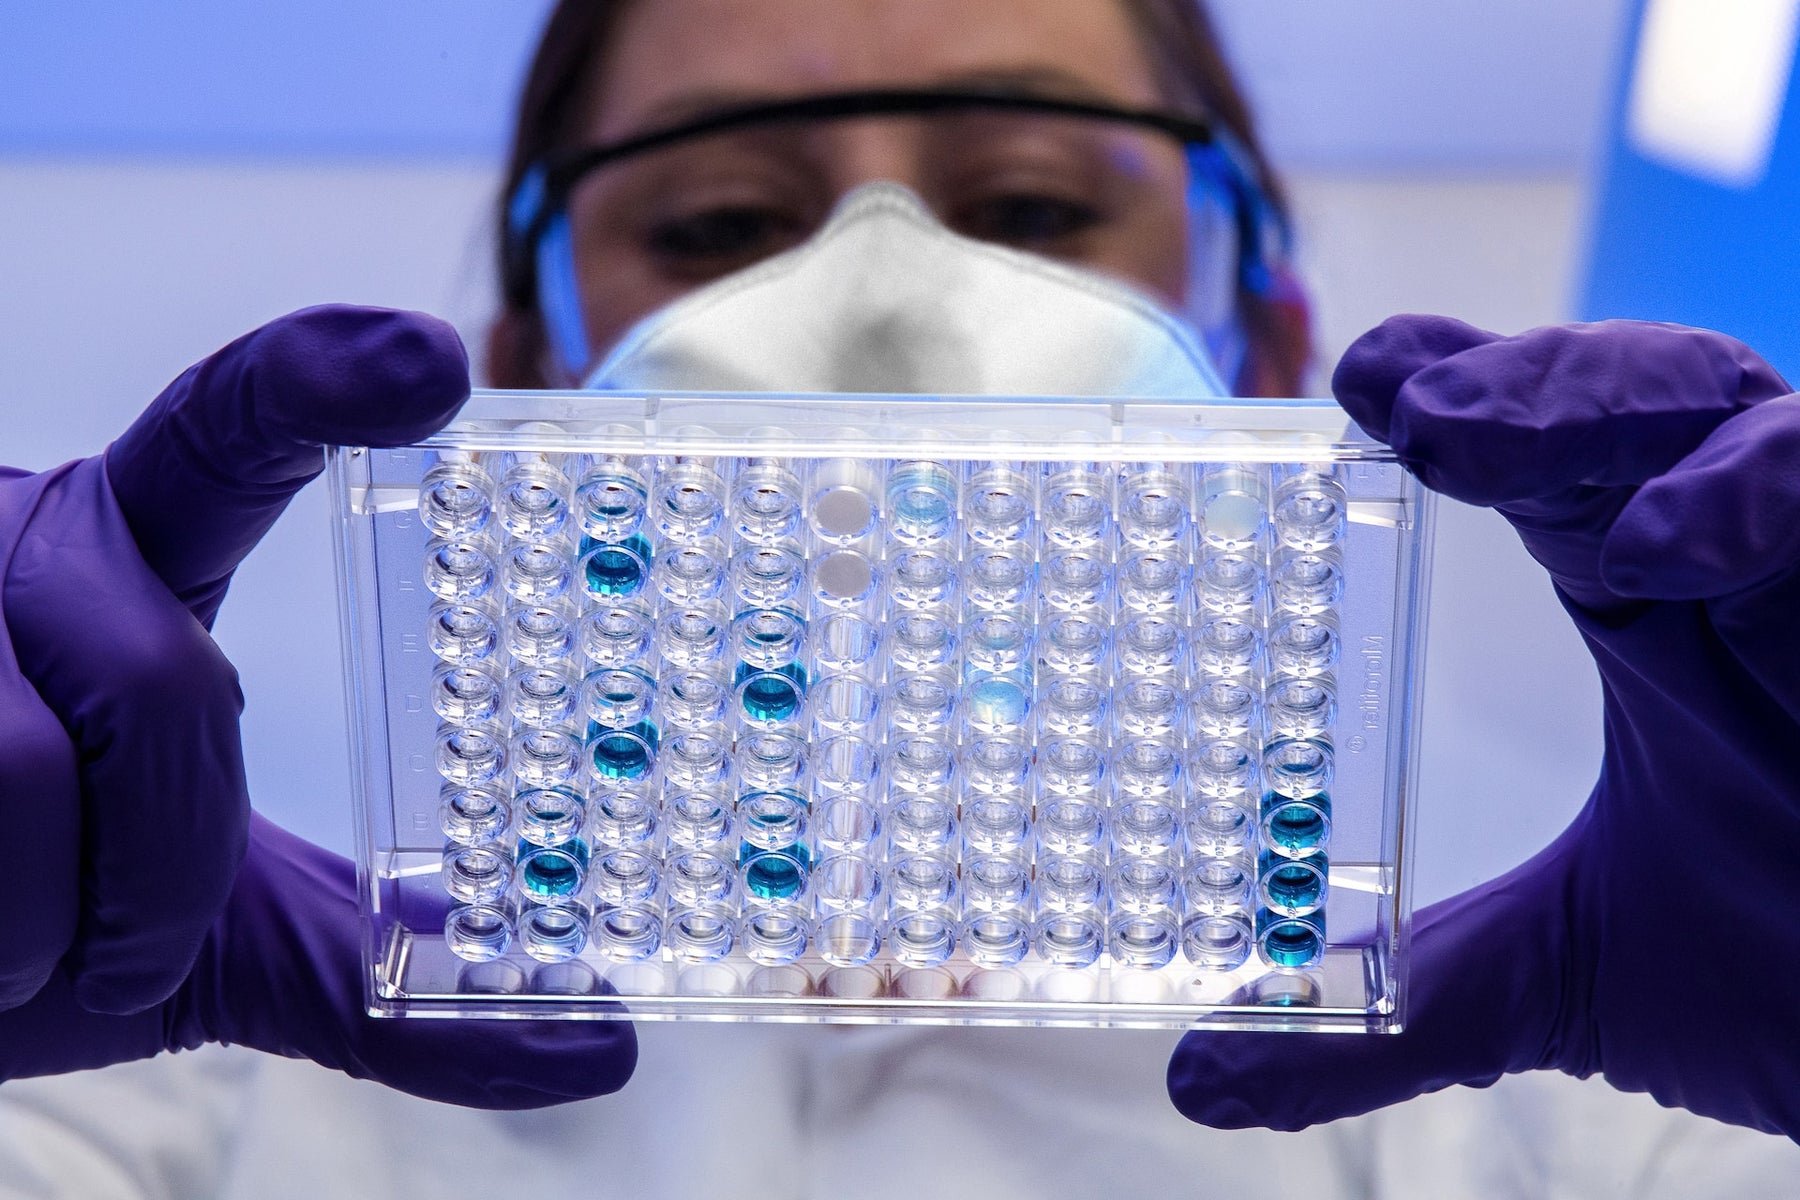
Next, we're filling the PCR plate with water. "You just fill this guy up with water and seal it." The process of performing a PCR Blank Check requires this crucial step. It's like the baby steps of your PCR Blank Check journey.
Why it matters: Having the right starting point is essential for a smooth PCR Blank Check process. If you skip this step, your results could be off, leading to a poorly executed check and potentially disastrous consequences for your PCR results.
Now comes the consistency part - using the regular testing method. Using your regular testing method for the PCR Blank Check is crucial for ensuring the accuracy of your results. It's like arranging the pieces of a puzzle in the right places.
Why it matters: If you skip this step, you could end up with inconsistent results, leading to errors in the PCR Blank Check process, affecting the accuracy of your results.
Next up, we're talking about the importance of running the check and observing. The PCR Blank Check is the part that gets the dirtiest and needs to be checked most often in a PCR process. It's like checking the oil in your car - necessary for smooth operation.
Why it matters: If you neglect this step, your PCR process could suffer from inefficiency and inaccuracy, leading to poor results and potential damage to the system.
Now, we're onto the actual cleaning process. This involves specific steps, such as cleaning the well with a mixture of bleach and isopropanol. It's like the diaper change of PCR Blank Check - not the most glamorous part, but absolutely essential.
Why it matters: If you skip or incorrectly perform these steps, you could end up with a poorly functioning well and inaccurate results.
Next, we're implementing the PCR Blank Check regularly. This consistency can help prevent errors and ensure accurate results. It's like regularly servicing your car for optimal performance.
Why it matters: Not implementing the PCR Blank Check regularly can lead to inconsistent results, potentially affecting the accuracy and reliability of your PCR results.
Finally, it's time for the celebration. "That's all I got. It was just a tip. If you enjoyed that video, like, subscribe, comment." You've just performed your PCR Blank Check. You're officially a PCR Blank Check expert!
Why it matters: Celebrating your success is like the cherry on top of your PCR Blank Check journey. It's a big milestone! If you skip this step, you could miss the satisfaction of a job well done, leading to a lack of motivation for future PCR Blank Checks.
So there you have it, folks! You've graduated from PCR novice to PCR Blank Check expert. Now go forth and perform your PCR Blank Checks like a pro. Don't forget to check out our video tutorial for a visual guide!
Leave a comment