(858) 224-9100

Running a Calibration Curve and Sample | Beckman AU680 Chemistry Analyzer: A Detailed Guide 🧪
Hello, readers! 👋 Today, we're going to delve into the process of running a calibration curve and a sample on the Beckman AU680 Chemistry Analyzer. We'll explain each step in detail and the problems it solves. Let's get started!
Step 1: Loading the Reagent Pack 📦
The first step is to load the reagent pack for the analyte you're testing. In this case, we're using CO2 as an example. Loading the correct reagent pack ensures that the machine has the necessary chemicals to perform the test.
- Insert the CO2 sample reagent bottle into the reagent wheel.
- Put the lid on.
Step 2: Checking the Reagent 🧪
Checking the reagent ensures that the machine recognizes the reagent and is ready to use it.
- Click on the 'Menu List' and select 'Reagent'.
- Click on 'Reagent Check' and select 'Check Specified Positions'.
- Select CO2 and click 'OK'.
Step 3: Running the Calibrators 🎯
Calibrators are used to ensure that the machine is reading the test results accurately. They provide a known value that the machine can use as a reference.
- Go to 'Menu List' > 'Rack Requisition' > 'Sample'.
- Go to 'Calibration' and select CO2.
- Click on 'Display Cup Set' to specify where to put the calibrators.
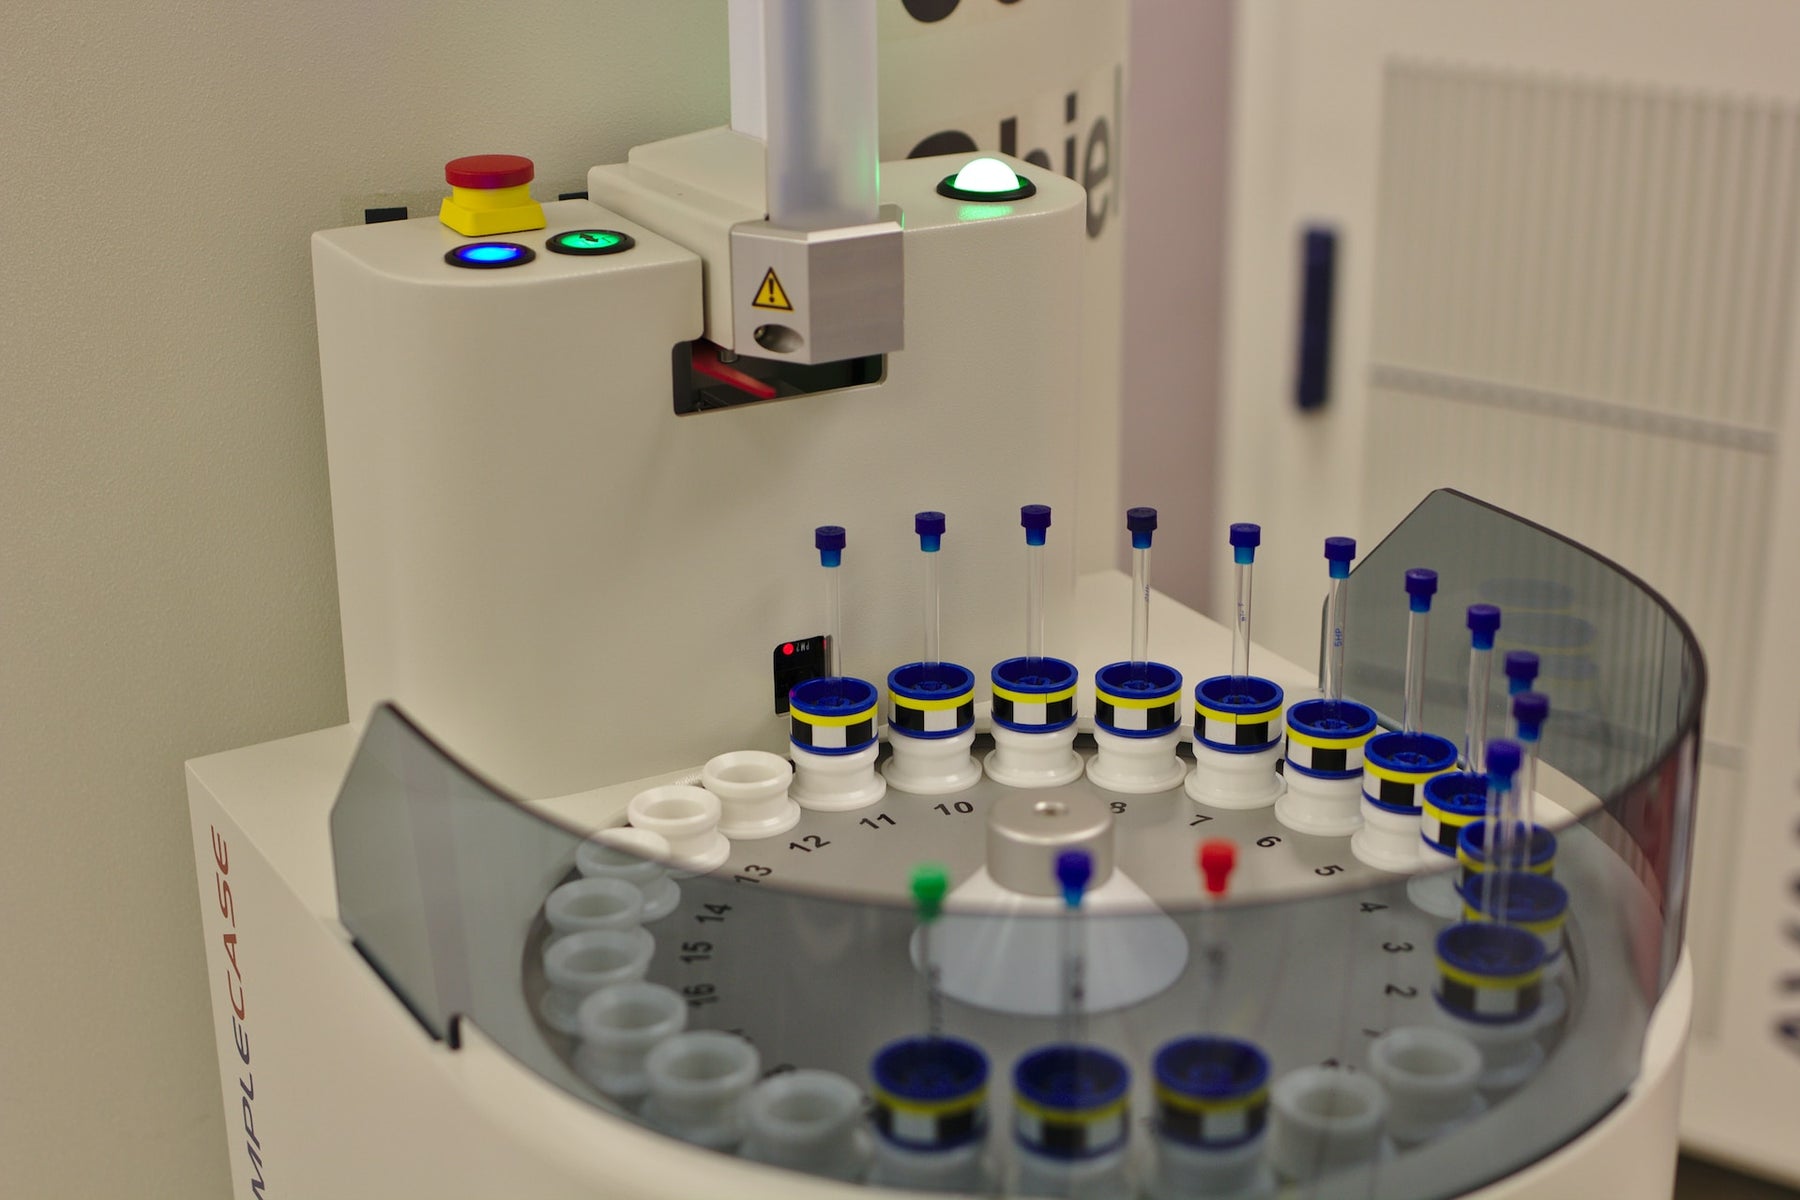
- Fill the blue rack with DI water and the yellow rack with the different calibration points.
- Click 'Close' and hit the 'Play' button at the top.
Step 4: Running the Sample 🧫
Finally, it's time to run the sample. This is the actual test that you want to perform.
- Go to 'Start Entry' and select CO2.
- Name the sample.
- Load the sample into the white sample rack.
- Click 'Entry' and then 'Start'.
Step 5: Reviewing the Data 📊
Once the sample and calibrators have been run, you can review the data to see the results.
- Go to 'Routine' > 'Sample Manager'.
- Click on 'Sample' to see all the analytes that were run for one patient.
- Click on 'Test' to see all the tests that were done for one analyte.
And that's it! You've successfully run a calibration curve and a sample on the Beckman AU680 Chemistry Analyzer. This process ensures that your test results are accurate and reliable, giving you confidence in your data. Happy labbing! 🥼

Leave a comment