(858) 224-9100

Mastering the Zeiss Axio Imager M2 Microscope: A Comprehensive Guide🔬
Hello there, microscope enthusiasts! 🙋♀️ Today, we're going to delve into the world of microscopic imaging with the Zeiss Axio-Imager M2 Microscope. This powerful piece of equipment is a workhorse in many labs, capable of capturing stunning images in four-color fluorescence and bright field. So, let's get started! 🚀
Powering Up 🔌
First things first, we need to power up the system. There are two boxes that control this - the power supply box located behind the monitor and the fluorescent lamp housing. Flick on the light and push the 'on' button to power up the system. You'll know it's on when the touchscreen is activated and there's an orange light on the rheostat. 💡
Understanding the Microscope 🧐
This microscope is capable of doing bright field as well as DIC or other phase contrast. It's an upright epifluorescence microscope, which means we can image slides and other fixed tissue samples. It has four fluorescence color channels in the blue, green, red, and far red channels, allowing us to see dyes such as DAPI, Alexa Fluor 488, Alexa 568, and Alexa Fluor 647. 🌈
The system also has two cameras - the Axiocam MRM for bright field images and the Axiocam HRC for increased sensitivity for taking fluorescent images. 📸
Setting Up the Microscope 🛠️
Now, let's set up the microscope. We'll start by turning on the power to the microscope and the fluorescent light. Then, we'll activate the touchscreen and familiarize ourselves with the physical buttons on the system.
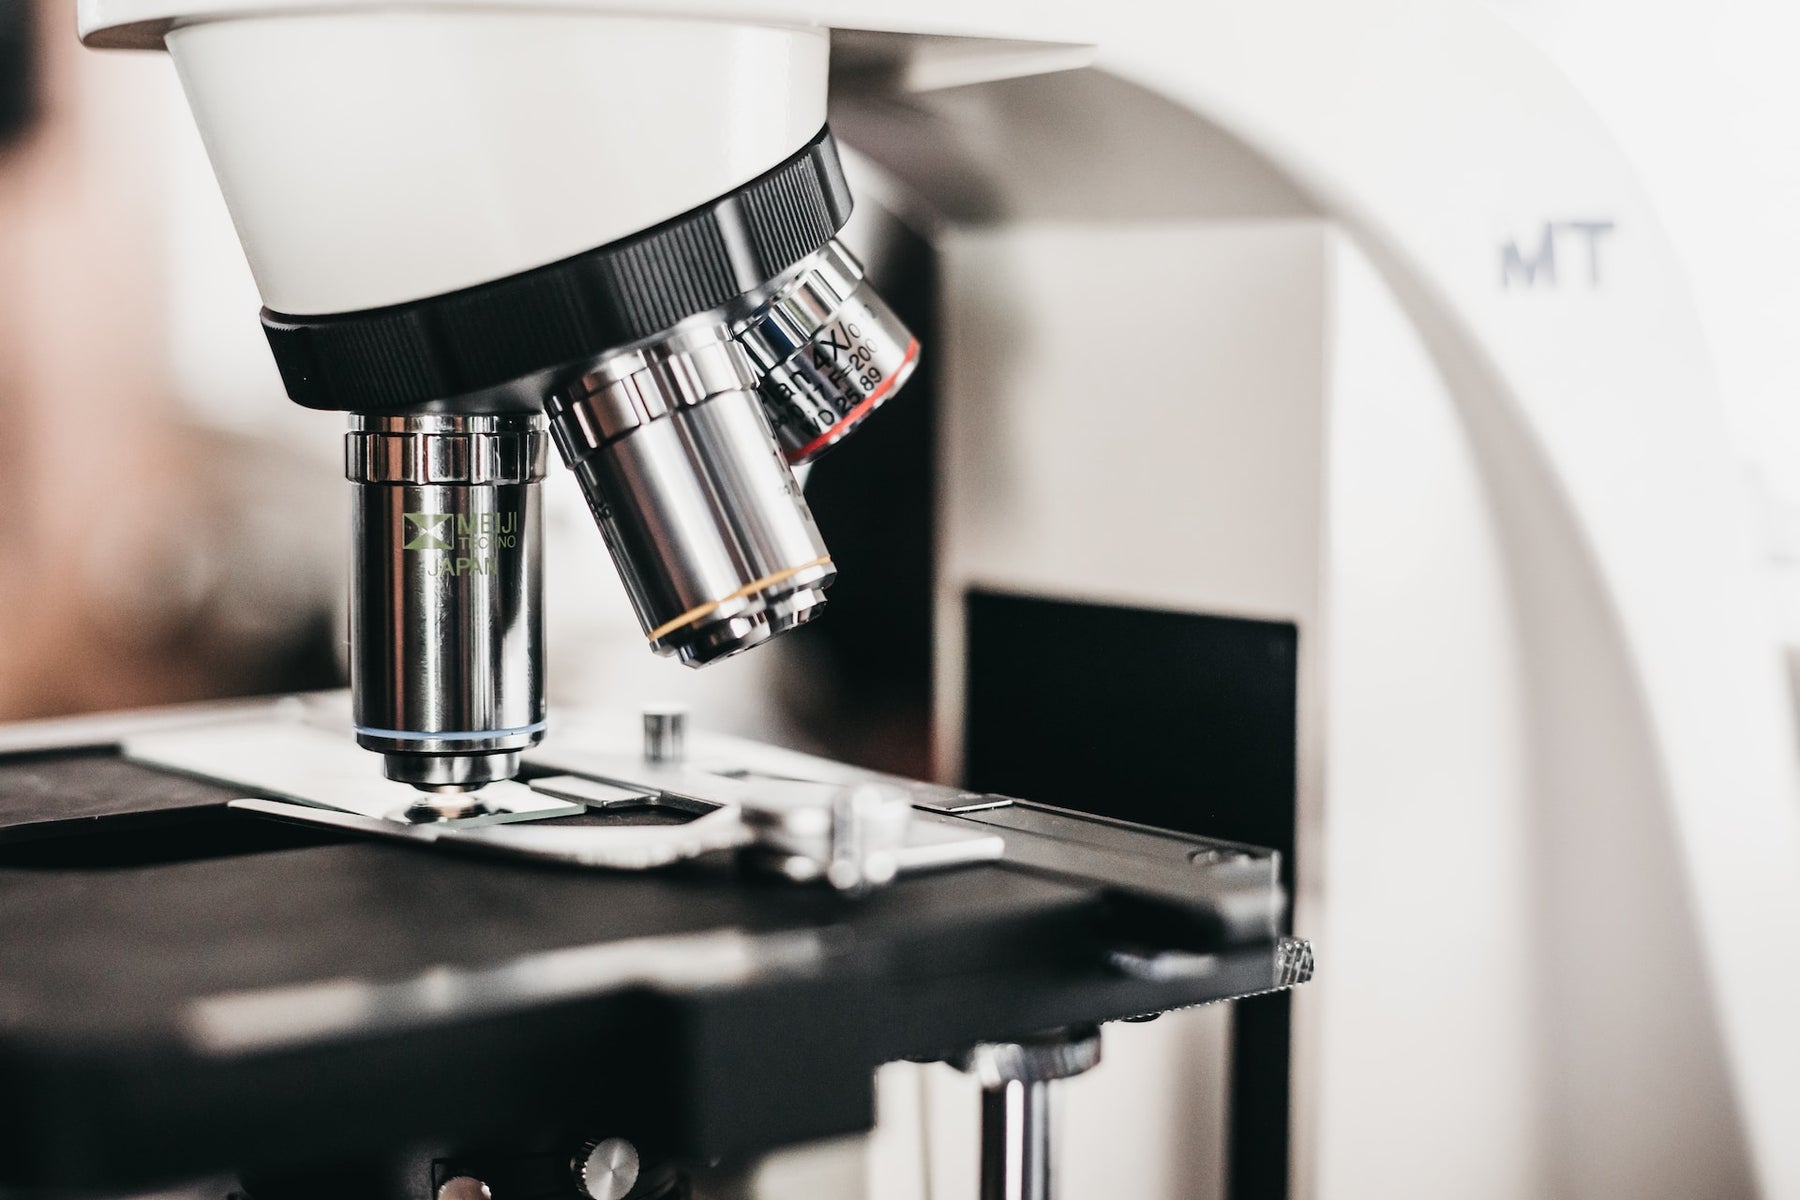
The binocular eyepiece allows us to look into the microscope and view our images. The rubber plastic covering is for the white light for the microscope. The light path typically passes through the bottom of the microscope, through the stage, through the glass sample or the slide, through the objective, and to your eyepiece. 👀
The microscope is fully motorized, meaning we can change from blue to green to red to far red with a push of a button. We can also use the software to drive in the X, Y, and Z position, allowing us to scan around the slide at low and high magnifications. 🎛️
The Objectives 🔍
The microscope has a range of magnifications, from a 2.5x Zeiss Epiplan Neofluar objective for low resolution magnification to a 100x Planapo objective for high resolution. The objectives are color corrected and planarity corrected, ensuring images look flatter with no vignetting around the sides.
The Stage and Focus 🎯
The stage is automated, allowing us to move it up and down in either larger increments (coarse focus) or smaller increments (fine focus). The condenser lens collector lens and field aperture allow us to focus bright field light from the bottom of the microscope through the objective in the optimum way possible.
The Touchscreen 🖥️
The touchscreen has a number of buttons we can press. We can control the light intensity, set a standard light temperature for imaging, and control the position we want to be in when we want to take photos in the fluorescence channel.
The Software 💻
Now, let's move on to the software. We'll use the Zen Pro software, which allows us to control the microscope and take images. The software will calibrate the stage and focus, ensuring there are no obstacles in the path.
Taking Images 📷
Finally, we're ready to take images. We'll set up an experiment where we want to look at five different color channels - the four fluorescents plus bright field. We'll adjust the exposure time to ensure we're not overexposing the dyes on the slide. We can manually set the exposure time or use the auto expose button.
Once we have our image, we can add a scale bar, which is critical in scientific imaging. We can also adjust the histogram levels to improve the contrast of the image.
Saving Images 💾
When we're happy with our image, we can save it as a Carl Zeiss Image (CZI) file. This file type includes all of the annotation and header information, such as the setting of the microscope, the objective, and the amount of exposure time.
And there you have it! You're now ready to take beautiful microscope images with the Zeiss Axio-Imager M2 Microscope. Happy imaging! 🎉

Leave a comment